Hey there, business owner!
Are you looking to get your Facebook Business Manager account verified for the WhatsApp Business API?
Well, you’ve come to the right place. This process is all about confirming that your business is a legitimate, real company. It’s crucial that your business is legally registered and has a proper phone number and address.
Ready to get started?
Let’s walk through the steps together.
📌Why Verify Your Business on Facebook?
Before we dive into the “how,” let’s quickly touch on the “why.” Verifying your business on Facebook is more than just a badge of honor. It builds trust with your customers, especially when you’re using platforms like the WhatsApp Business API. It signals to Meta (Facebook’s parent company) that you’re a legitimate entity, which can unlock more features and ensure smoother operations for your business messaging. It’s a critical step in establishing a professional and credible presence online.
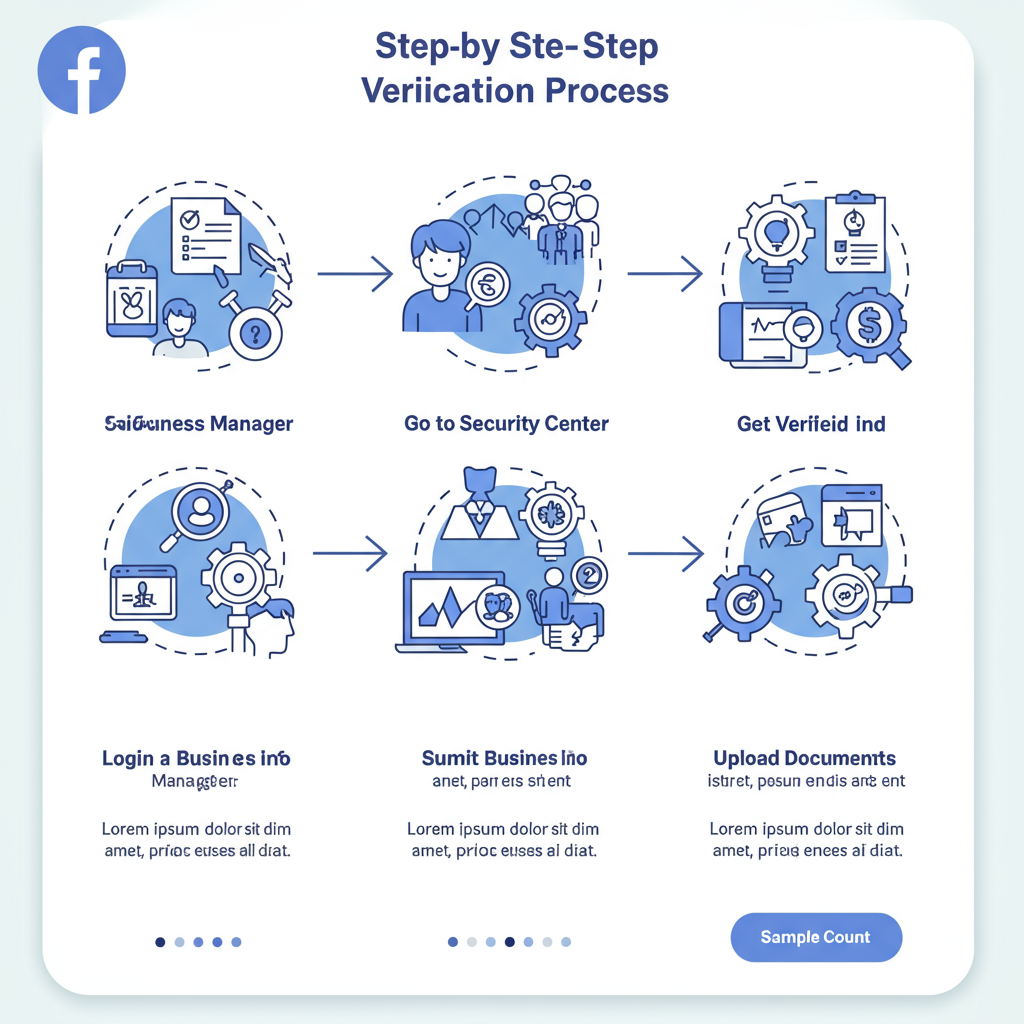
🪜Step 1: Head to Your Facebook Business Settings
First things first, you’ll want to open up your Facebook Business Manager. If you haven’t set one up yet, now’s the time! Once you’re in, navigate your way to the Security Centre. Think of this as your starting point for all things verification – it’s where Meta centralizes all the tools for securing and verifying your business assets.
🪜Step 2: Add Your Business Details
Now, it’s time to tell Facebook a bit more about your business. You’ll need to input all the relevant details about your company here, including your legal business name, address, and contact information. Make sure everything is accurate and up-to-date! Precision is key here, as any discrepancies could delay your verification.
🪜Step 3: Submit Your Supporting Documents
This is where you prove your business’s legal standing. You’ll need to upload supporting documents that confirm your business’s legal details. These documents help Facebook cross-reference the information you’ve provided and ensure its authenticity.
💡FYI – For businesses in India, it’s important to note that a Goods and Services Tax (GST) certificate is often a mandatory document required by Meta to verify your business account. Ensure you have your GST certificate readily available, along with any other official business registration documents, utility bills, or bank statements that prove your business’s existence and address. Once you’ve got them all ready, go ahead and submit them.
🪜Step 4: Choose Your Contact Method for Confirmation
Facebook needs to confirm that you’re truly connected to the business you’re trying to verify. You’ll be asked to select your preferred contact method to receive a confirmation code. This could be a phone call or a text message. Choose the method that’s most convenient and reliable for you to receive the code promptly.
🪜Step 5: Confirm Your Phone Number
If you choose the phone method, you’ll need to enter and confirm your phone number. This should be a number directly associated with your business. Once that’s done, click on Text Me Now or Send OTP (or the equivalent button) to receive your confirmation code. Be sure your phone is nearby and has good reception!
🪜Step 6: Enter the Confirmation Code
Finally, check your phone for the confirmation code. This is usually a short numerical code. Once you have it, input the code into the designated field on Facebook and click Next. This is the last step in the submission process and confirms your control over the contact method provided.
What Happens Next⁉️ After You Verify Your Business On Facebook
After you’ve completed all these steps, your application will be under review by Meta. You’ll typically receive an email and a notification directly within your Facebook Business Manager and Page, informing you of the status. This usually happens within 1 to 3 business days, but sometimes it can take a little longer, depending on the volume of applications.
So, keep an eye out for that confirmation!
If there are any issues, Meta will usually provide feedback on what needs to be corrected.
And that’s it!
By following these steps, you’ll be well on your way to getting your Facebook Business verified, opening up new possibilities for your online presence and communication strategies. If you need any assistance with your business messaging or navigating these platforms, remember that Hello24AI is here to help you connect with your customers seamlessly.